
阿里云 CentOS 6.10 安装 Oracle10gR2
环境:
操作系统:阿里云 CentOS release 6.10 (Final)
4核CPU,8G内存,40G硬盘
Oracle版本:Oracle 10gR2_linux_x86_64
Oracle官方下载地址(官网现在已不提供此版本下载了,请网上自己找安装包):
http://download.oracle.com/otn/linux/oracle10g/10201/10201_database_linux_x86_64.cpio.gz(已失效)
Oracle10gR2官方html文档地址:http://docs.oracle.com/cd/B19306_01/install.102/b15667/toc.htm
Oracle10gR2官方pdf文档地址:http://docs.oracle.com/cd/B19306_01/install.102/b15667.pdf
安全组开放端口:1521、1158、5901
安装桌面环境:
[root@iZ2ze1uokpww52hrtbj6loZ ~]# runlevel
N 3
[root@iZ2ze1uokpww52hrtbj6loZ ~]# yum groupinstall -y "Desktop" "Desktop Debugging and Performance Tools" "Desktop Platform" "Desktop Platform Development"
[root@iZ2ze1uokpww52hrtbj6loZ ~]#
[root@iZ2ze1uokpww52hrtbj6loZ ~]# vim /etc/inittab
id:5:initdefault:    # 将3改为5
[root@iZ2ze1uokpww52hrtbj6loZ ~]# reboot
二、安装Oracle
创建swap交换分区:
由于阿里云服务器默认没有swap交换分区,这里手动创建。
swap分区创建:https://www.chenxie.net/archives/501.html
检查硬件要求:
检查物理内存:至少1GB的物理空间;
检查Swap交换分区:
Swap空间与物理空间的关系表如下:
| RAM | Swap Space |
|---|---|
| Up to 512 MB | 2 times the size of RAM |
| Between 1024 MB and 2048 MB | 1.5 times the size of RAM |
| Between 2049 MB and 8192 MB | Equal to the size of RAM |
| More than 8192 MB | 0.75 times the size of RAM |
检查磁盘空间:
/tmp目录要有400MB空间,根据不同的安装类型磁盘空间应在1.5GB-3.5GB之间,Oracle需要至少1.2GB的文件存储空间。
检查如下:
[root@iZ2ze1uokpww52hrtbj6loZ ~]# grep MemTotal /proc/meminfo
MemTotal:        8193024 kB
[root@iZ2ze1uokpww52hrtbj6loZ ~]# grep SwapTotal /proc/meminfo
SwapTotal:       8388604 kB
[root@iZ2ze1uokpww52hrtbj6loZ ~]# free -m
             total       used       free     shared    buffers     cached
Mem:          8001       7840        160          0          3       7483
-/+ buffers/cache:        353       7647
Swap:         8191          0       8191
[root@iZ2ze1uokpww52hrtbj6loZ ~]# df -h
Filesystem      Size  Used Avail Use% Mounted on
/dev/vda1        40G  9.2G   29G  25% /
tmpfs           3.9G     0  3.9G   0% /dev/shm
检查软件要求:
官方对软件的要求(摘自部分):
| Item | Requirement |
|---|---|
| Operating system | One of the following operating system versions:
|
| Kernel version | The system must be running the following kernel version (or a later version):
Red Hat Enterprise Linux 3.0: 2.4.21-27.EL Note: This is the default kernel version. Red Hat Enterprise Linux 4.0: 2.6.9-11.EL SUSE Linux Enterprise Server 9.0: 2.6.5-7.201 |
| Packages | The following packages (or later versions) must be installed:
Red Hat Enterprise Linux 4.0: binutils-2.15.92.0.2-10.EL4 compat-db-4.1.25-9 control-center-2.8.0-12 gcc-3.4.3-9.EL4 gcc-c++-3.4.3-9.EL4 glibc-2.3.4-2 glibc-common-2.3.4-2 gnome-libs-1.4.1.2.90-44.1 libstdc++-3.4.3-9.EL4 libstdc++-devel-3.4.3-9.EL4 make-3.80-5 pdksh-5.2.14-30 sysstat-5.0.5-1 xscreensaver-4.18-5.rhel4.2 |
系统要求:Oracle10G 官方只支持到RHEL4,但并不代表之后版本不能安装;
内核版本:RHEL4的内核要求在2.6.9-11.EL以上
软件包:要求的软件包必须装
查看内核版本:
[root@iZ2ze1uokpww52hrtbj6loZ ~]# uname -r
2.6.32-754.17.1.el6.x86_64
安装所要求的依赖包:
[root@iZ2ze1uokpww52hrtbj6loZ ~]# yum install binutils compat-db control-center gcc gcc-c++ glibc glibc-common gnome-libs libstdc++ libstdc++-devel make pdksh sysstat xscreensaver还需安装下面依赖包:
[root@iZ2ze1uokpww52hrtbj6loZ ~]# yum install glibc-devel.x86_64 glibc-devel.i686 compat-libstdc++-33.i686 compat-libstdc++-33.x86_64
创建所需的用户和组:
[root@iZ2ze1uokpww52hrtbj6loZ ~]# groupadd oinstall
[root@iZ2ze1uokpww52hrtbj6loZ ~]# groupadd dba
[root@iZ2ze1uokpww52hrtbj6loZ ~]# useradd -g oinstall -G dba oracle
[root@iZ2ze1uokpww52hrtbj6loZ ~]# id oracle
uid=500(oracle) gid=500(oinstall) groups=500(oinstall),501(dba)
修改内核参数:
官方要求的内核参数:
| Parameter | Value | File |
|---|---|---|
| semmsl
semmns semopm semmni |
250
32000 100 128 |
/proc/sys/kernel/sem |
| shmall | 2097152 | /proc/sys/kernel/shmall |
| shmmax | Half the size of physical memory (in bytes) | /proc/sys/kernel/shmmax |
| shmmni | 4096 | /proc/sys/kernel/shmmni |
| file-max | 65536 | /proc/sys/fs/file-max |
| ip_local_port_range | Minimum:1024
Maximum: 65000 |
/proc/sys/net/ipv4/ip_local_port_range |
| rmem_default | 262144 | /proc/sys/net/core/rmem_default |
| rmem_max | 262144 | /proc/sys/net/core/rmem_max |
| wmem_default | 262144 | /proc/sys/net/core/wmem_default |
| wmem_max | 262144 | /proc/sys/net/core/wmem_max |
Note:
If the current value for any parameter is higher than the value listed in this table, then do not change the value of that parameter.
查看当前的内核参数:
| Parameter | Command |
|---|---|
| semmsl, semmns, semopm, and semmni | # /sbin/sysctl -a | grep sem
This command displays the value of the semaphore parameters in the order listed. |
| shmall, shmmax, and shmmni | # /sbin/sysctl -a | grep shm
This command displays the details of the shared memory segment sizes. |
| file-max | # /sbin/sysctl -a | grep file-max
This command displays the maximum number of file handles. |
| ip_local_port_range | # /sbin/sysctl -a | grep ip_local_port_range
This command displays a range of port numbers. |
| rmem_default | # /sbin/sysctl -a | grep rmem_default |
| rmem_max | # /sbin/sysctl -a | grep rmem_max |
| wmem_default | # /sbin/sysctl -a | grep wmem_default |
| wmem_max | # /sbin/sysctl -a | grep wmem_max |
官方说法是查询出如果没有的就在/etc/sysctl.conf文件中添加一行写上要求的值,如果当前的值查出比要求的值大,则保留为大的值。
添加以下内容至 /etc/sysctl.conf 文件:
kernel.shmall = 2097152
kernel.shmmax = 2147483648
kernel.shmmni = 4096
kernel.sem = 250 32000 100 128
fs.file-max = 65536
net.ipv4.ip_local_port_range = 1024 65000
net.core.rmem_default = 262144
net.core.rmem_max = 262144
net.core.wmem_default = 262144
net.core.wmem_max = 262144
vm.hugetlb_shm_group = 501
即时生效: sysctl -p
在 /etc/security/limits.conf 文件中添加以下行:
oracle              soft    nproc   2047
oracle              hard    nproc   16384
oracle              soft    nofile  1024
oracle              hard    nofile  65536
在 /etc/pam.d/login 文件中添加以下行:
session required pam_limits.so
创建oracle所需目录:
[root@iZ2ze1uokpww52hrtbj6loZ ~]# mkdir -p /data/app/oracle
[root@iZ2ze1uokpww52hrtbj6loZ ~]# chown -R oracle.oinstall /data/app/oracle/
[root@iZ2ze1uokpww52hrtbj6loZ ~]# chmod -R 755 /data/app/oracle/
配置oracle用户环境变量,添加红色字体部分到结尾:
[root@iZ2ze1uokpww52hrtbj6loZ ~]# su - oracle
[oracle@iZ2ze1uokpww52hrtbj6loZ ~]$ vim .bash_profile
# .bash_profile

# Get the aliases and functions
if [ -f ~/.bashrc ]; then
        . ~/.bashrc
fi

# User specific environment and startup programs

PATH=$PATH:$HOME/bin

export PATH

export ORACLE_BASE=/data/app/oracle
export ORACLE_HOME=/data/app/oracle/oracle/product/10.2.0/db_1
export ORACLE_SID=orcl
export PATH=$PATH:/data/app/oracle/oracle/product/10.2.0/db_1/bin
[oracle@iZ2ze1uokpww52hrtbj6loZ ~]$ exit
logout
[root@iZ2ze1uokpww52hrtbj6loZ ~]#
ok,安装前工作完成,最好重启一下机器,保证所设置参数都生效。
[root@iZ2ze1uokpww52hrtbj6loZ ~]# reboot
开始安装:
上传安装文件 10201_database_linux_x86_64.cpio.gz 至 /data/software/ 目录
使用root用户解压:
[root@iZ2ze1uokpww52hrtbj6loZ software]# cd /data/software/
[root@iZ2ze1uokpww52hrtbj6loZ software]# gunzip 10201_database_linux_x86_64.cpio.gz
[root@iZ2ze1uokpww52hrtbj6loZ software]# cpio -idmv < 10201_database_linux_x86_64.cpio
安装以下包:
[root@iZ2ze1uokpww52hrtbj6loZ software]# yum install libXp.so.6 libXt.so.6 libXtst.so.6
修改/etc/redhat-release
将里面内容改为redhat-4
配置VNC:
安装vnc-server:
[root@iZ2ze1uokpww52hrtbj6loZ ~]# yum install tigervnc-server
[root@iZ2ze1uokpww52hrtbj6loZ ~]# vncpasswd
[root@iZ2ze1uokpww52hrtbj6loZ ~]# vim /etc/sysconfig/vncservers
# 添加以下到末尾:
VNCSERVERS="1:root"
VNCSERVERARGS[1]="-geometry 800x600"
启动vnc:
[root@iZ2ze1uokpww52hrtbj6loZ ~]# /etc/init.d/vncserver start
启动VNC-Viewer-5.1.1:

打开终端执行下面命令开始安装:
[root@iZ2ze1uokpww52hrtbj6loZ ~]# xhost +
access control disabled, clients can connect from any host
[root@iZ2ze1uokpww52hrtbj6loZ ~]# su - oracle
[oracle@iZ2ze1uokpww52hrtbj6loZ ~]$ cd /data/software/database/
[oracle@iZ2ze1uokpww52hrtbj6loZ database]$ ./runInstaller
在oracle用户的终端执行 ./runInstaller
进入安装界面:
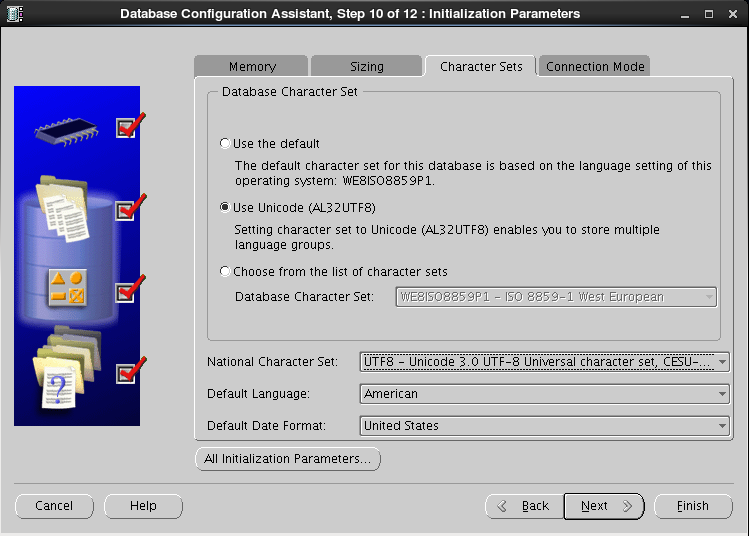
选择“Advanced Installation”专业模式,点击Next后,如下图:
点击 Next后,如下图:
选择“Enterprise Edition”企业版,点击Next后,如下图:
点击 Next后,如下图:

我这里有个警告,可以忽略,点击Next后,如下图:
点击Next后,如下图:
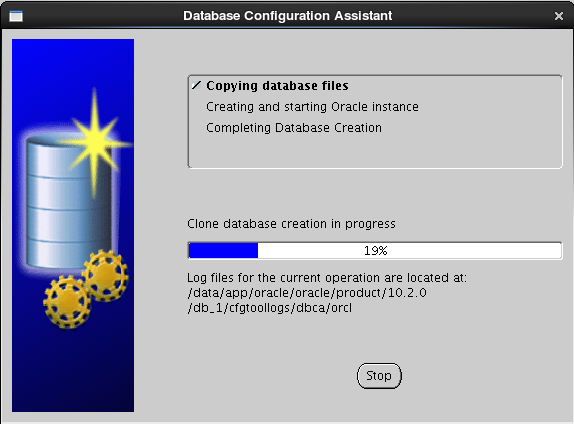
点击Install开始安装,如下图:
装到83%左右出现以下错误:
此错误为oracle bug,可忽略,点击Continue继续安装。
处理方法:
这里继续点击“continue”即可,待Oracle完成安装后,再手工执行相应脚本完成链接即可。
当oracle完成安装后,如下操作
[oracle@iZ2ze1uokpww52hrtbj6loZ ~]$ /data/app/oracle/oracle/product/10.2.0/db_1/bin/relink all
--执行脚本后,会自动完成重链接操作
--注意:该脚本放置在脚本目录下,实际根据规划的oracle根目录进行查找即可.
继续安装后,如下:
在root用户下,分别执行这两个脚本:
[root@iZ2ze1uokpww52hrtbj6loZ ~]# /data/app/oracle/oraInventory/orainstRoot.sh
Changing permissions of /data/app/oracle/oraInventory to 770.
Changing groupname of /data/app/oracle/oraInventory to oinstall.
The execution of the script is complete
[root@iZ2ze1uokpww52hrtbj6loZ ~]# /data/app/oracle/oracle/product/10.2.0/db_1/root.sh
Running Oracle10 root.sh script...

The following environment variables are set as:
    ORACLE_OWNER= oracle
    ORACLE_HOME=  /data/app/oracle/oracle/product/10.2.0/db_1

Enter the full pathname of the local bin directory: [/usr/local/bin]:
   Copying dbhome to /usr/local/bin ...
   Copying oraenv to /usr/local/bin ...
   Copying coraenv to /usr/local/bin ...


Creating /etc/oratab file...
Entries will be added to the /etc/oratab file as needed by
Database Configuration Assistant when a database is created
Finished running generic part of root.sh script.
Now product-specific root actions will be performed.
执行完后点击OK后,如下:
安装完成,点击Exit退出。
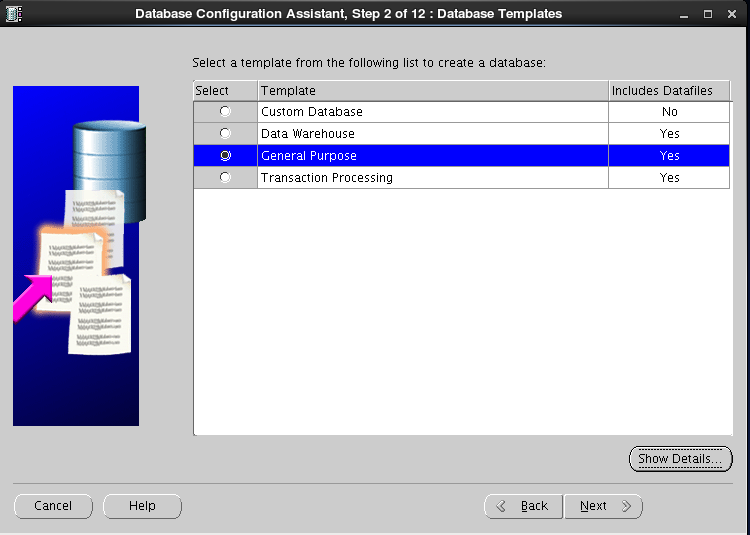
软件安装完成,接下来创建数据库:
[oracle@iZ2ze1uokpww52hrtbj6loZ ~]$ cd /data/app/oracle/oracle/product/10.2.0/db_1/bin/
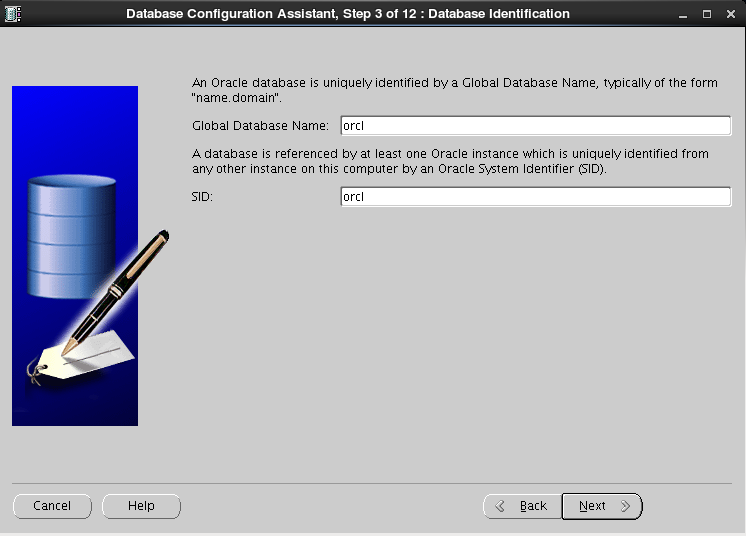
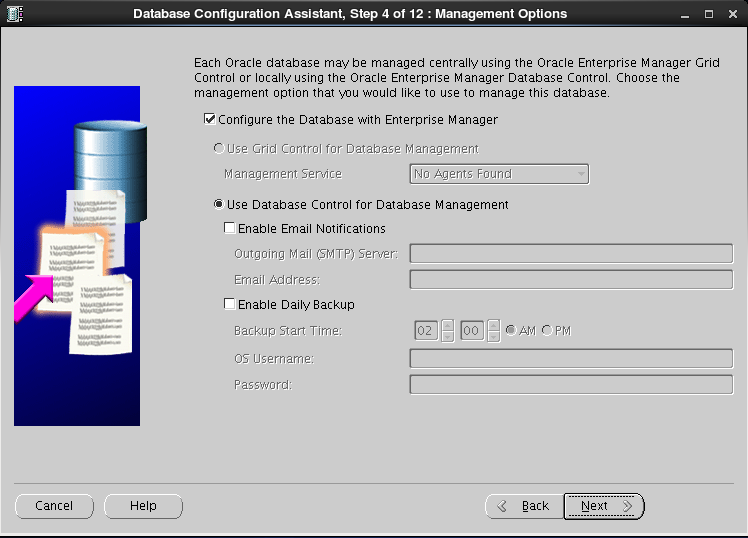
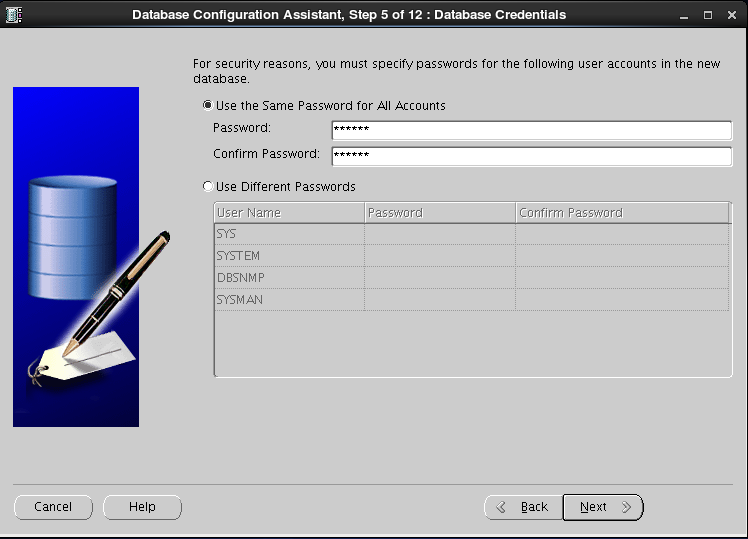
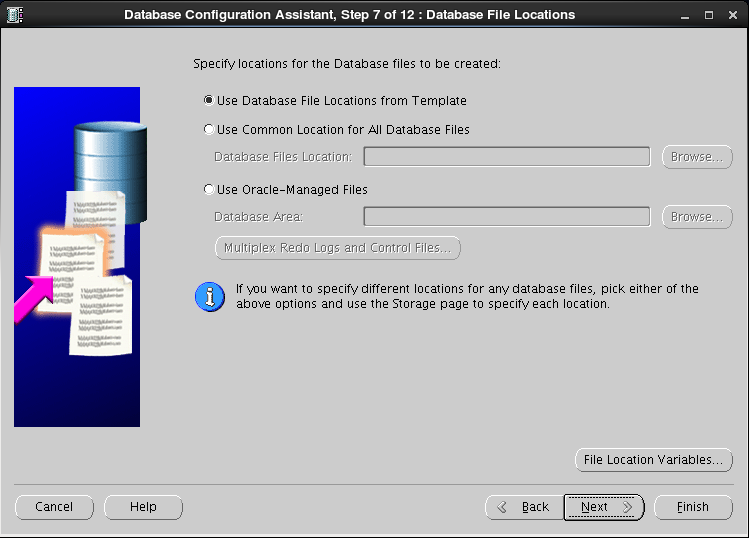
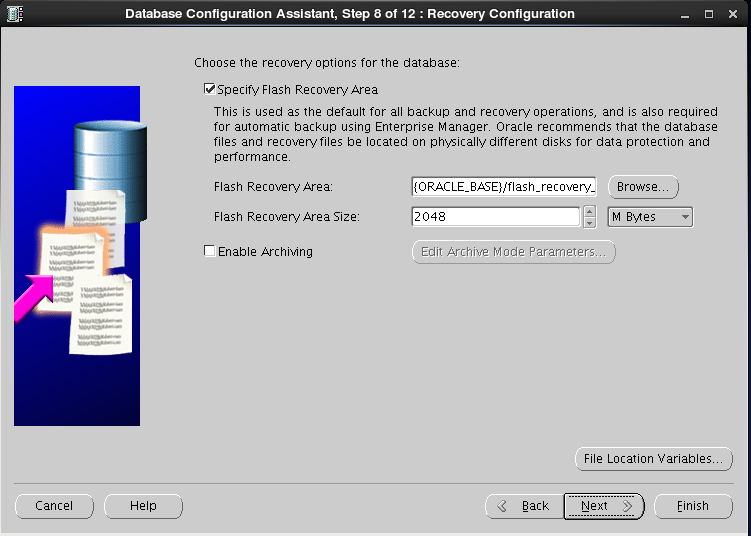
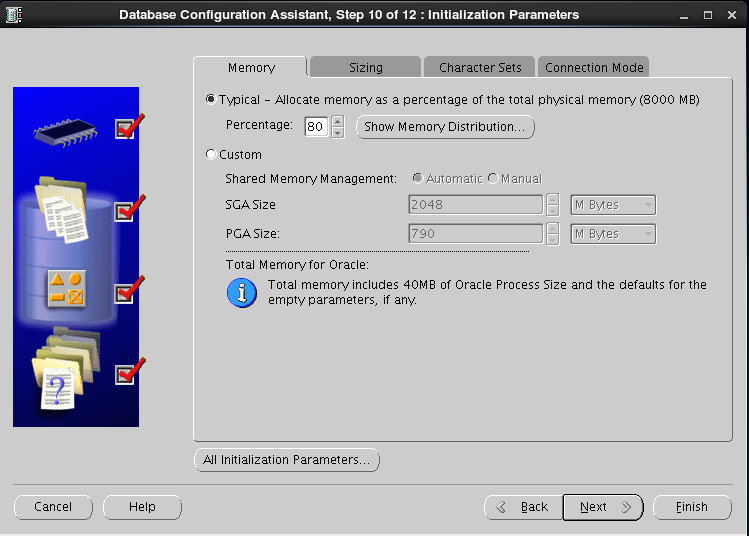
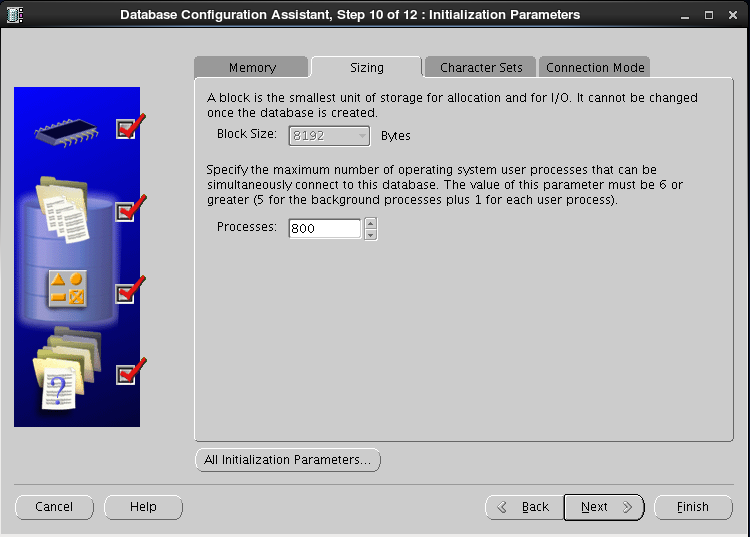
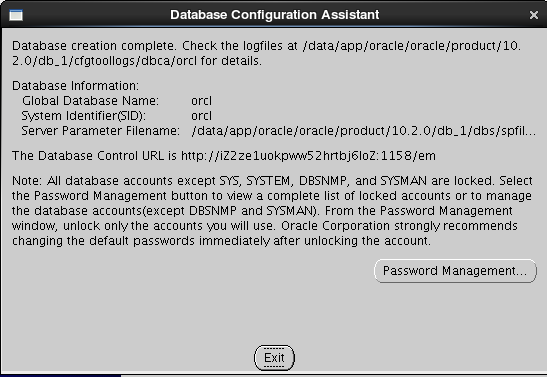
[oracle@iZ2ze1uokpww52hrtbj6loZ bin]$ ./dbca


[root@iZ2ze1uokpww52hrtbj6loZ ~]# su - oracle
[oracle@iZ2ze1uokpww52hrtbj6loZ ~]$ lsnrctl start

LSNRCTL for Linux: Version 10.2.0.1.0 - Production on 01-AUG-2019 16:54:20

Copyright (c) 1991, 2005, Oracle.  All rights reserved.

Starting /data/app/oracle/oracle/product/10.2.0/db_1/bin/tnslsnr: please wait...

TNSLSNR for Linux: Version 10.2.0.1.0 - Production
Log messages written to /data/app/oracle/oracle/product/10.2.0/db_1/network/log/listener.log
Listening on: (DESCRIPTION=(ADDRESS=(PROTOCOL=tcp)(HOST=iZ2ze1uokpww52hrtbj6loZ)(PORT=1521)))

Connecting to (ADDRESS=(PROTOCOL=tcp)(HOST=)(PORT=1521))
STATUS of the LISTENER
------------------------
Alias                     LISTENER
Version                   TNSLSNR for Linux: Version 10.2.0.1.0 - Production
Start Date                01-AUG-2019 16:54:20
Uptime                    0 days 0 hr. 0 min. 0 sec
Trace Level               off
Security                  ON: Local OS Authentication
SNMP                      OFF
Listener Log File         /data/app/oracle/oracle/product/10.2.0/db_1/network/log/listener.log
Listening Endpoints Summary...
  (DESCRIPTION=(ADDRESS=(PROTOCOL=tcp)(HOST=iZ2ze1uokpww52hrtbj6loZ)(PORT=1521)))
The listener supports no services
The command completed successfully
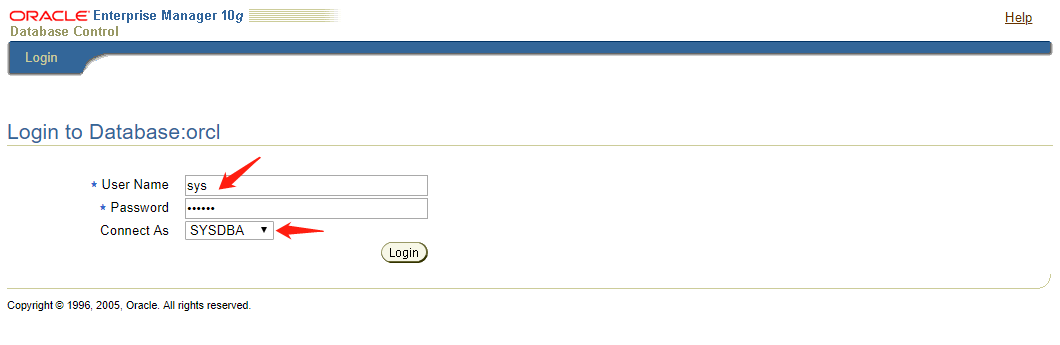
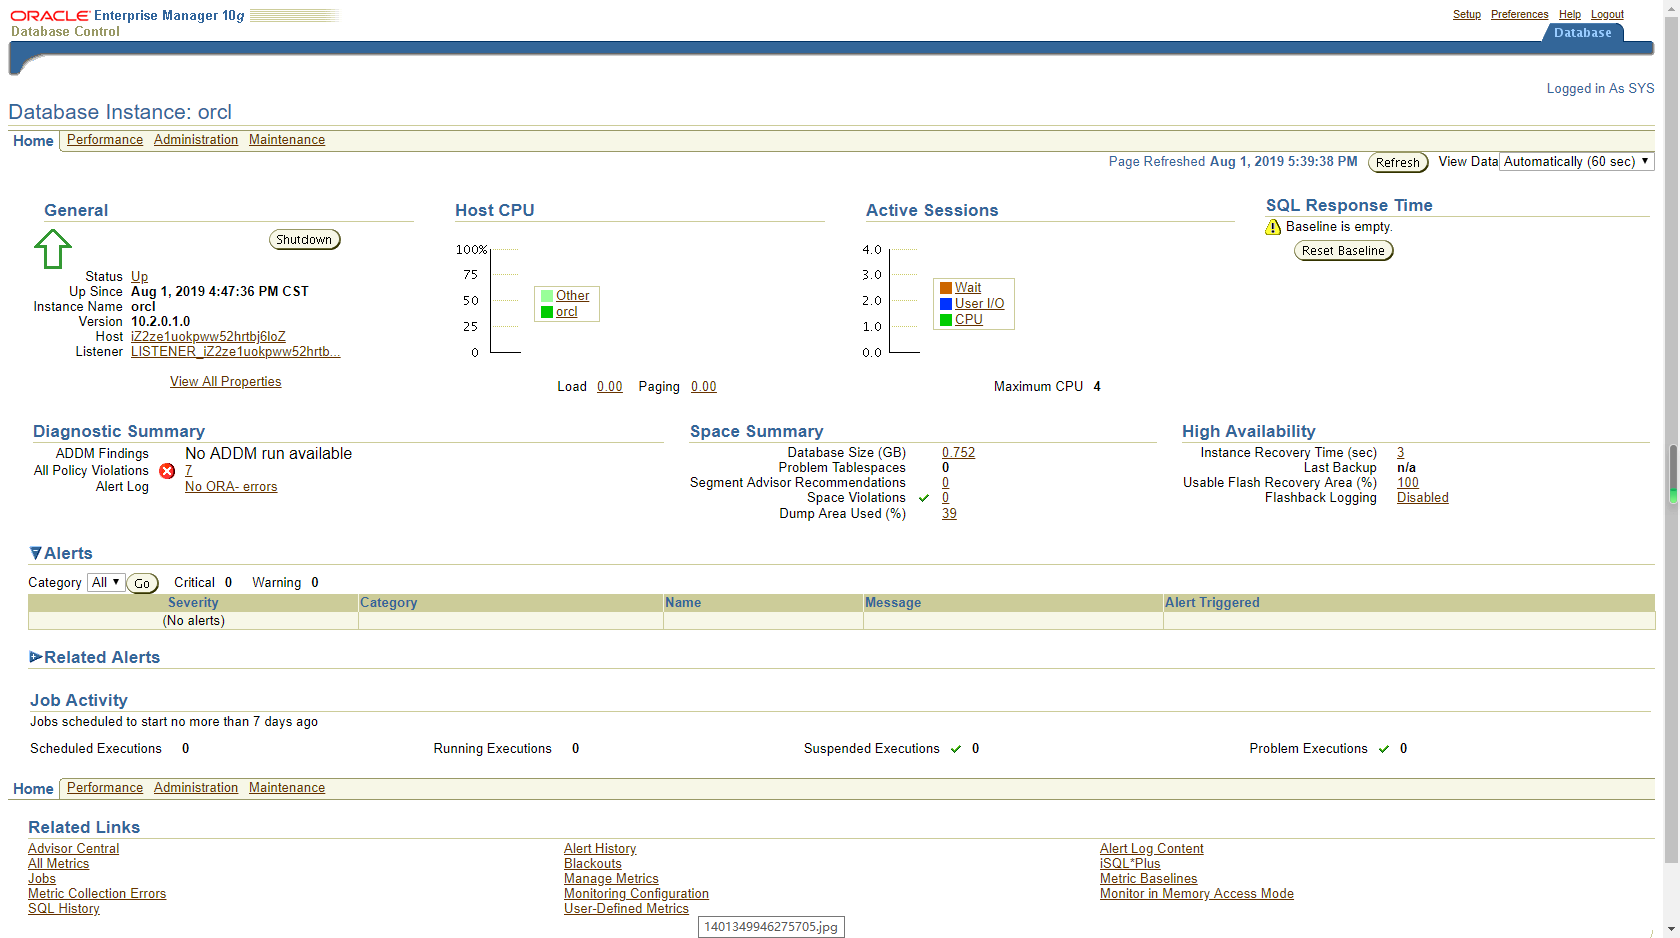
在浏览器中登录em:http://39.106.73.36:1158/em 查看服务信息(建议将浏览器显示语言调整为英文,要不然有些按钮显示会乱码)

不慌,点击“OK”进入登录页面
使用Oracle SQL Develop工具进行连接测试:
测试成功。
点击“连接”后,如下:
创建自启动脚本:
# vim /etc/init.d/oracle
内容如下:
#!/bin/sh
# chkconfig: 35 80 10
# description: Oracle auto start-stop script.

#
# Set ORA_HOME to be equivalent to the $ORACLE_HOME
# from which you wish to execute dbstart and dbshut;
#
# Set ORA_OWNER to the user id of the owner of the
# Oracle database in ORA_HOME.


ORA_HOME=/data/app/oracle/oracle/product/10.2.0/db_1
ORA_OWNER=oracle
if [ ! -f $ORA_HOME/bin/dbstart ]
then
    echo "Oracle startup: cannot start"
    exit
fi

case "$1" in
'start')
        # Start the Oracle databases:
        echo "Starting Oracle Databases ... "
        echo "-------------------------------------------------" >> /var/log/oracle
        date +" %T %a %D : Starting Oracle Databases as part of system up." >> /var/log/oracle
        echo "-------------------------------------------------" >> /var/log/oracle
        su - $ORA_OWNER -c "$ORA_HOME/bin/dbstart" >>/var/log/oracle
        echo "Done"

        # Start the Listener:
        echo "Starting Oracle Listeners ... "
        echo "-------------------------------------------------" >> /var/log/oracle
        date +" %T %a %D : Starting Oracle Listeners as part of system up." >> /var/log/oracle
        echo "-------------------------------------------------" >> /var/log/oracle
        su - $ORA_OWNER -c "$ORA_HOME/bin/lsnrctl start" >>/var/log/oracle
        echo "Done."
        echo "-------------------------------------------------" >> /var/log/oracle
        date +" %T %a %D : Finished." >> /var/log/oracle
        echo "-------------------------------------------------" >> /var/log/oracle
        touch /var/lock/subsys/oracle
        ;;
'stop')
        # Stop the Oracle Listener:
        echo "Stoping Oracle Listeners ... "
        echo "-------------------------------------------------" >> /var/log/oracle
        date +" %T %a %D : Stoping Oracle Listener as part of system down." >> /var/log/oracle
        echo "-------------------------------------------------" >> /var/log/oracle
        su - $ORA_OWNER -c "$ORA_HOME/bin/lsnrctl stop" >>/var/log/oracle
        echo "Done."
        rm -f /var/lock/subsys/oracle

        # Stop the Oracle Database:
        echo "Stoping Oracle Databases ... "
        echo "-------------------------------------------------" >> /var/log/oracle
        date +" %T %a %D : Stoping Oracle Databases as part of system down." >> /var/log/oracle
        echo "-------------------------------------------------" >> /var/log/oracle
        su - $ORA_OWNER -c "$ORA_HOME/bin/dbshut" >>/var/log/oracle
        echo "Done."
        echo ""
        echo "-------------------------------------------------" >> /var/log/oracle
        date +" %T %a %D : Finished." >> /var/log/oracle
        echo "-------------------------------------------------" >> /var/log/oracle
        ;;

'restart')
        $0 stop
        $0 start
        ;;
esac
修改权限并加入开启启动:
[root@iZ2ze1uokpww52hrtbj6loZ ~]# chmod 755 /etc/init.d/oracle
[root@iZ2ze1uokpww52hrtbj6loZ ~]# chkconfig --add oracle
[root@iZ2ze1uokpww52hrtbj6loZ ~]# chkconfig oracle on
要使脚本在开机时能够生效,还需修改/etc/oratab文件,
将 ORCL:/data/app/oracle/app/oracle/oracle/product/10.2.0/db_1:N
改为 ORCL:/data/app/oracle/app/oracle/oracle/product/10.2.0/db_1:Y
完成。
Oracle 基本管理:
启动数据库:
# su - oracle
$ sqlplus / as sysdba
SQL> startup;
停止数据库:
# su - oracle
$ sqlplus / as sysdba
SQL > shutdown immediate;
启动监听:
# su - oracle
$ lsnrctl start
停止监听:
# su - oracle
$ lsnrctl stop
启动/停止EM:
[oracle@iZ2ze1uokpww52hrtbj6loZ ~]$ emctl start dbconsole
[oracle@iZ2ze1uokpww52hrtbj6loZ ~]$ emctl stop dbconsole
共有 0 条评论